Prerequisites
Quetzal can be used to translate Next.js which use the next-intl framework.Installing Quetzal
Install
Setting Up
After installing the package, the following three steps are required:Set API Key
Set the environment variable
QUETZAL_API_KEY to your Quetzal API Key. Your
API Key can be found on your project
dashboardUpdate quetzal.config.json
The setup script should have created this for you. Update
paths so that it
points to the directories with the code you plan to localize. Update parser to i18next-parserExample quetzal.config.json
Set Up next-intl provider
Quetzal uses the More detail on this provider can be found in the next-intl
docs.
next-intl package to inject translations in your app,
and so your app needs to use the NextIntlClientProviderThis will look something like:Set up next-intl plugin
Your app also needs to add the More detail on this plugin can be found in the next-intl
docs.
NextIntlPlugin from next-intl into your next.config file.- next.config.mjs
- next.config.js
And you’re done!
Setup should be complete, and you can start translating your app.Verify Your Installation
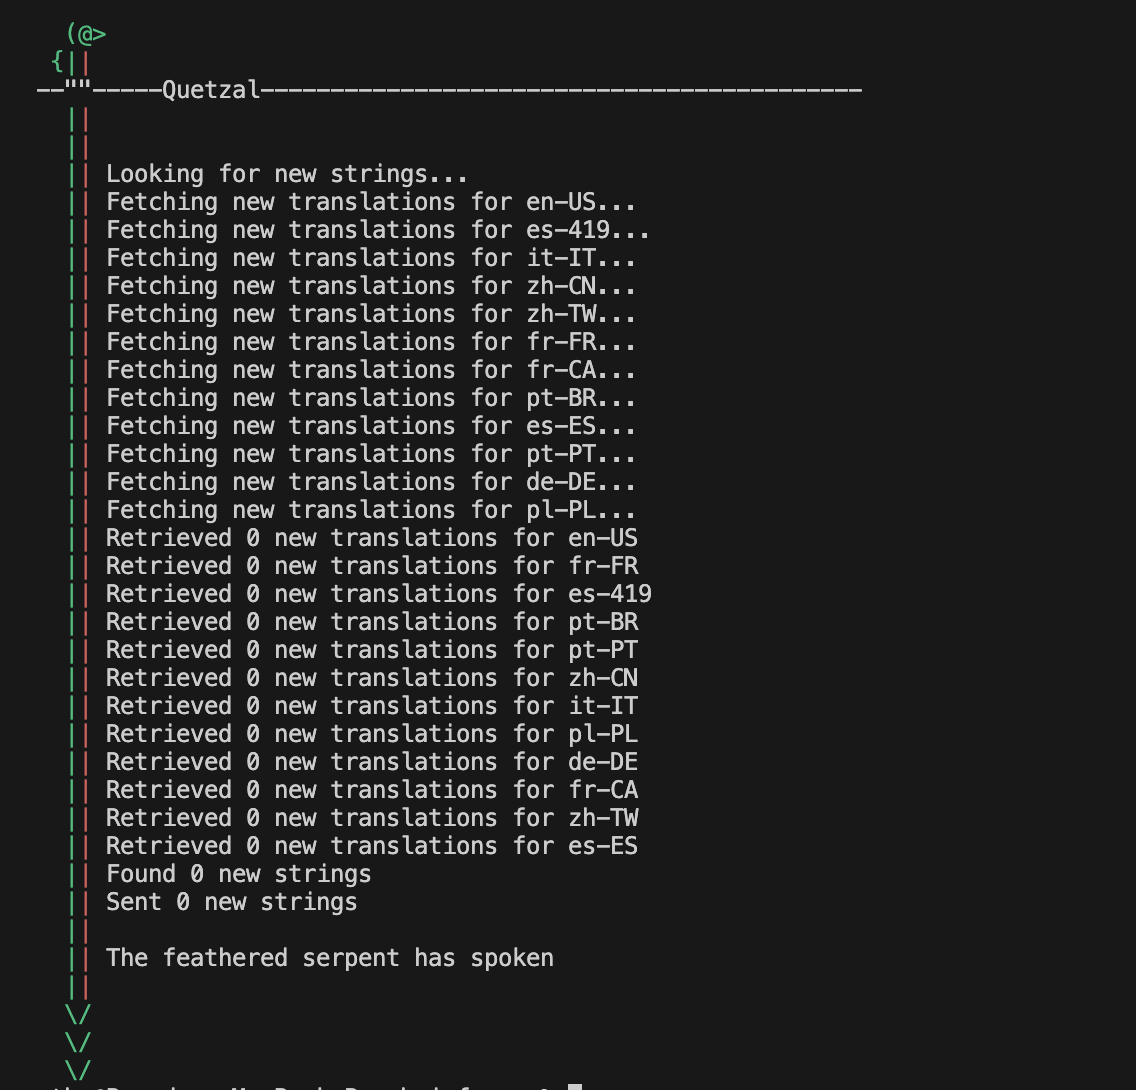
Runnpx quetzal-process-translations to test out your installation.

npx quetzal-process-translations to the pre-build script in your project’s package.json, but this can be modified.